Installez Git
Windows
1. Télécharger git
You have to be online all of the time as Android Studio downloads several updates!
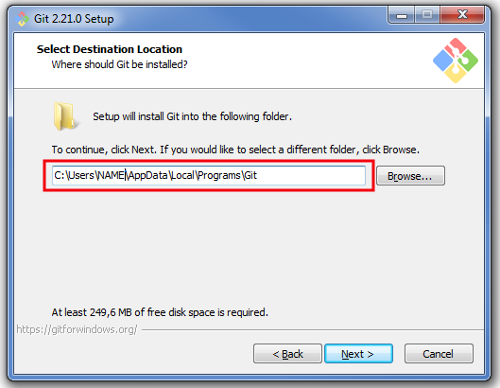
N’importe quelle version de git devrait fonctionner. For example https://git-scm.com/download/win.
Make sure to note down the installation path. Vous en aurez besoin dans la prochaine étape.
2. Définir le chemin d’accès git dans Android Studio
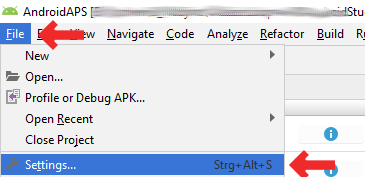
Open File > Settings
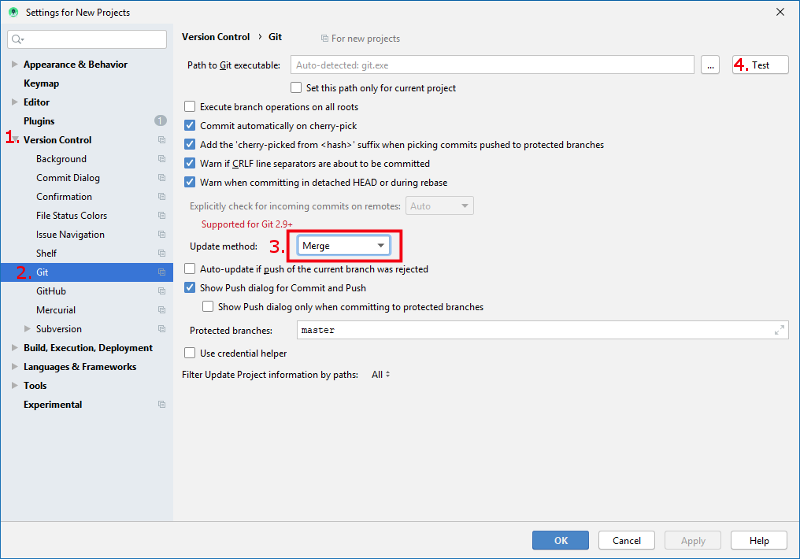
Click the small triangle next to Version Control (1.) to open the sub-menu.
Click Git (2.).
Make sure update method « Merge » (3.) is selected.
Check if Android Studio can locate path to git.exe automatically by clicking the button « Test » (4.)
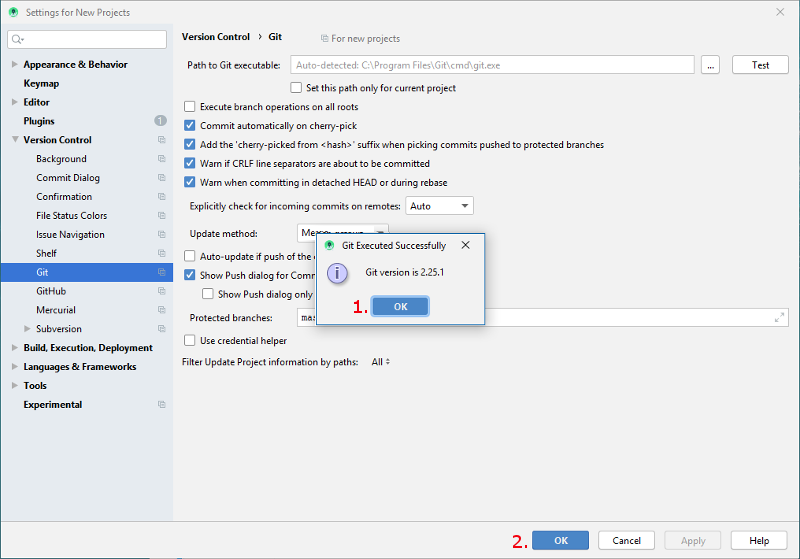
If automatic setting is successful git version will be displayed.
Click « OK » in the dialog box (1.) and « OK » in the settings window (2.).
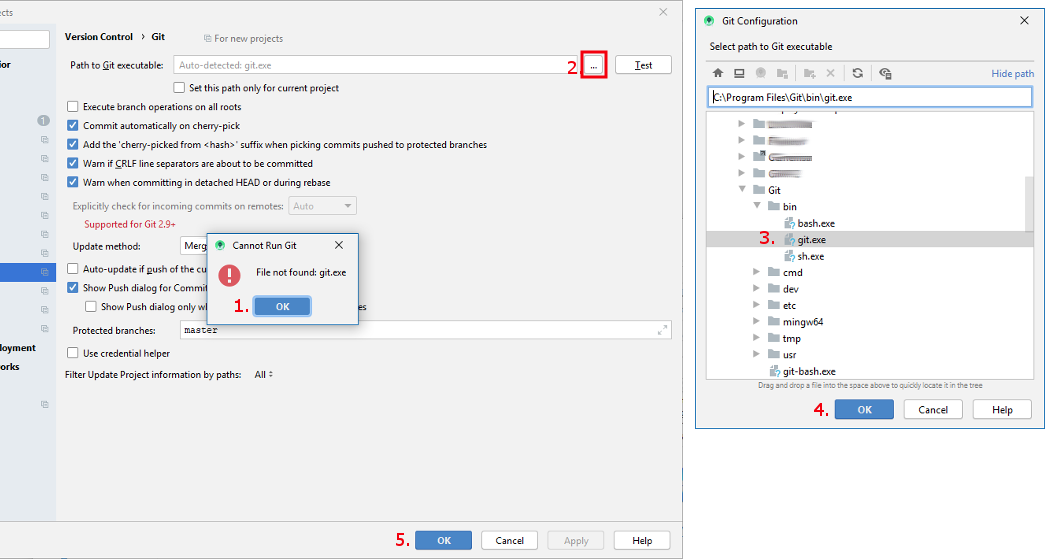
In case file git.exe cannot be found click « OK » in the dialog box (1.) and then the button with the three dots (2.).
Use search function in windows explorer to find « git.exe » if you are unsure where it can be found. You are looking for git.exe located in binfolder.
Select path to git.exe and make sure you selected the one in \bin\ folder (3.) and click « OK » (4.).
Close settings window by clicking « OK » button (5.).
3. Redémarrer
Reboot your PC to update System Environment.
4. Vérifier les paramètres de git dans Android Studio
Open Terminal window in Android Studio
Enter
git --version(without quotation marks and no spaces between the two - [minus sign]!) and press Return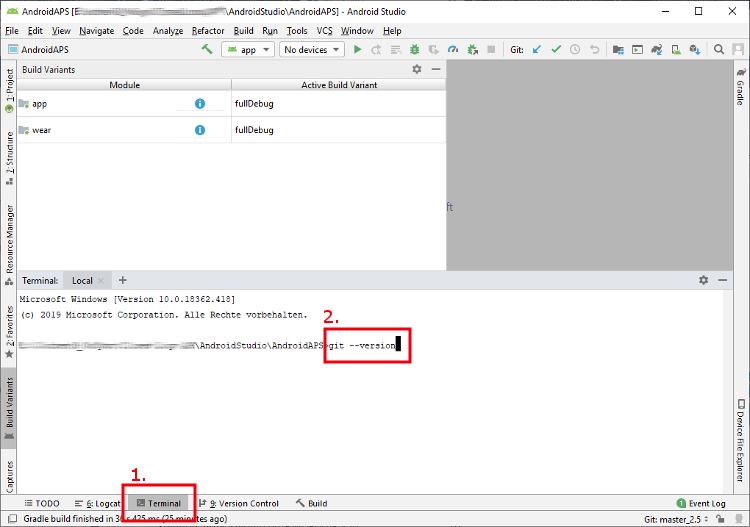
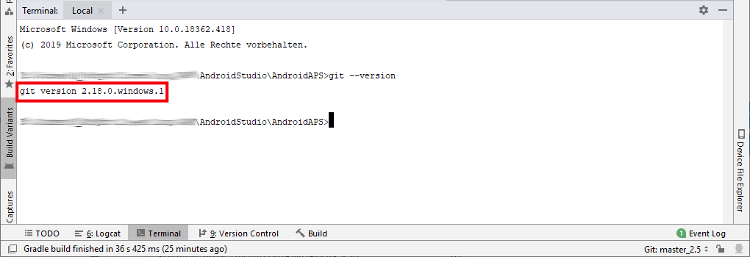
If git is installed and connected properly you will receive an information about the installed version that looks as follows:
Mac
N’importe quelle version de git devrait fonctionner. For example https://git-scm.com/download/mac
Use homebrew to install git:
`$ brew install git`.Pour plus de détails sur l’installation de git, voir la documentation officielle.
Si vous installez git via homebrew, il n’est pas nécessaire de modifier les préférences. Juste au cas où : on peut y accéder ici : Android Studio - Preferences.