Install git
Windows
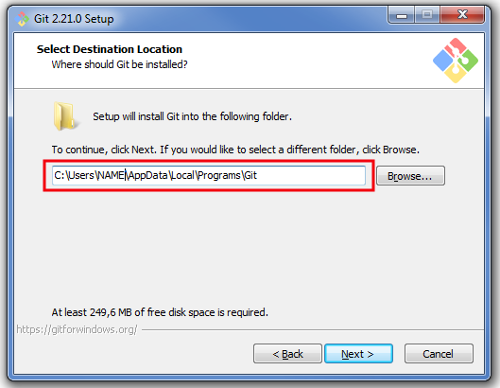
1. Download git
You have to be online all of the time as Android Studio downloads several updates!
Any git version should work. For example https://git-scm.com/download/win.
Make sure to note down the installation path. You will need it in the next step.
make git.exe available via Windows PATH
Make sure that you can call git.exe without the prefing path as Android Studio needs this to find git.exe. It will then automatically sets the path to git.exe correct in the Android Studio settings.
2. Set git path in Android Studio
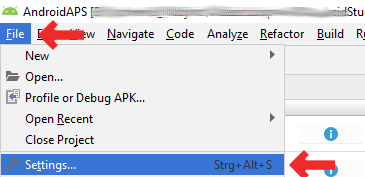
Open File > Settings
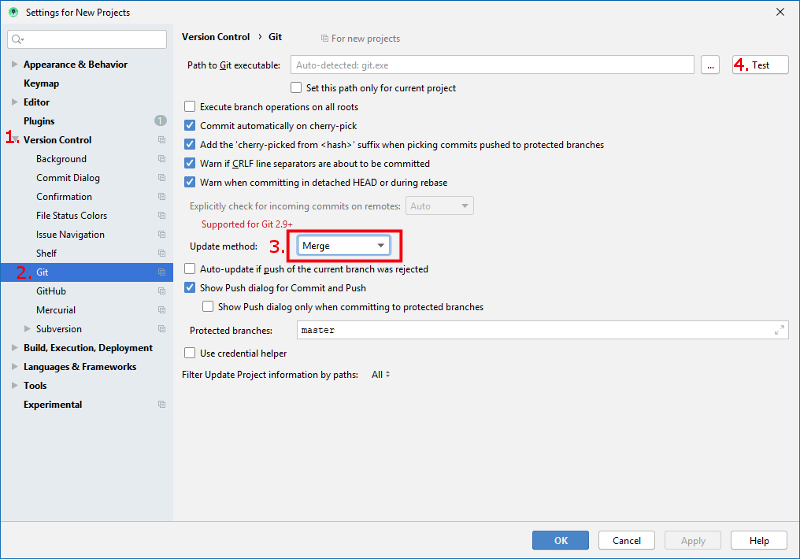
Click the small triangle next to Version Control (1.) to open the sub-menu.
Click Git (2.).
Make sure update method ”Merge“ (3.) is selected.
Check if Android Studio can locate path to git.exe automatically by clicking the button ”Test“ (4.)
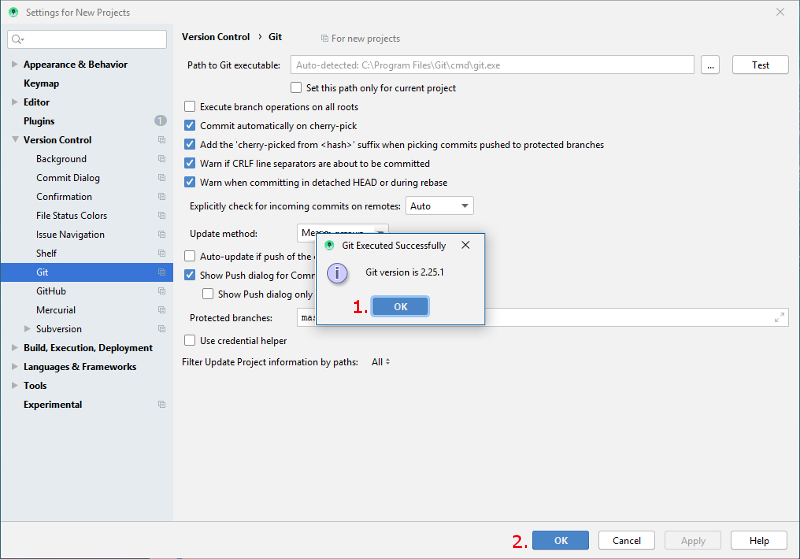
If automatic setting is successful git version will be displayed.
Click ”OK“ in the dialog box (1.) and ”OK“ in the settings window (2.).
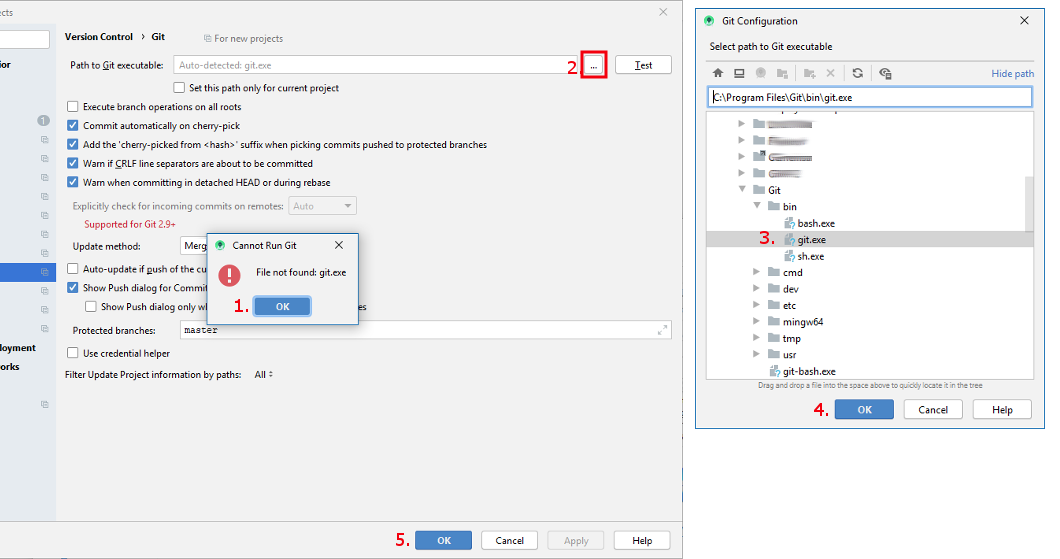
In case file git.exe cannot be found click ”OK“ in the dialog box (1.) and then the button with the three dots (2.).
Use search function in windows explorer to find ”git.exe“ if you are unsure where it can be found. You are looking for git.exe located in binfolder.
Select path to git.exe and make sure you selected the one in \bin\ folder (3.) and click ”OK“ (4.).
Close settings window by clicking ”OK“ button (5.).
3. Reboot
Reboot your PC to update System Environment.
4. Check git settings in Android Studio
Open Terminal window in Android Studio
Enter
git --version(without quotation marks and no spaces between the two - [minus sign]!) and press Return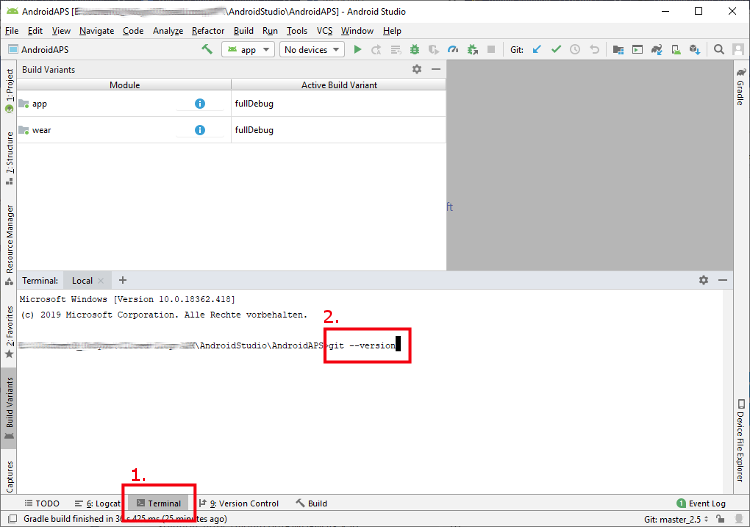
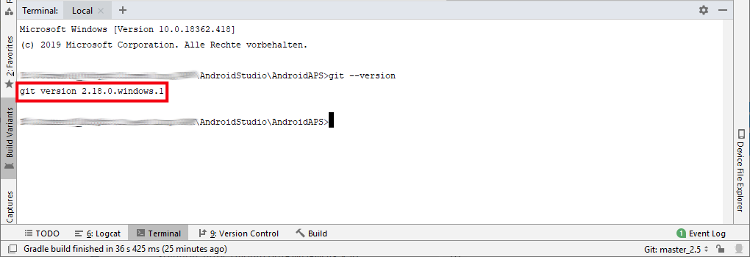
If git is installed and connected properly you will receive an information about the installed version that looks as follows:
Mac
Any git version should work. For example https://git-scm.com/download/mac
Use homebrew to install git:
`$ brew install git`.For details on installing git see the official git documentation.
If you install git via homebrew there is no need to change any preferences. Just in case: They can be found here: Android Studio - Preferences.